
Whether you’re preparing a blog image, touching up a personal photo, or creating a graphic for social media, a browser-based editor can be a convenient option.
In this guide, you’ll learn how to edit images online, which features to use, and how to save your finished images in the right format.
Why Use Online Image Editing Tools?
Online image editors offer several useful benefits, especially if you want to make quick changes without installing desktop software.
No Installation Required
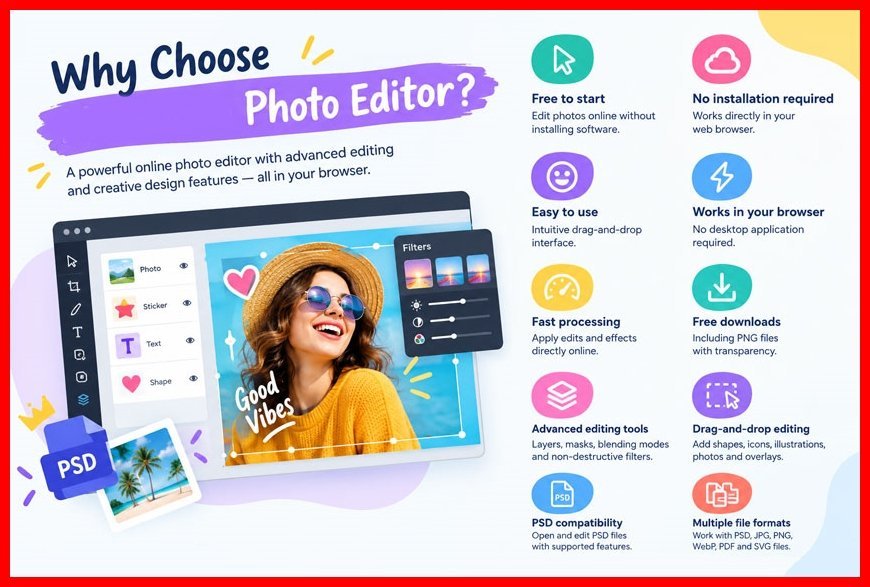
Many online editors run directly in your browser, allowing you to start editing without installing a desktop application.
Convenient Access
You can often use browser-based editors on different computers and operating systems, provided your device and browser meet the tool’s requirements.
Useful for Everyday Tasks
Online editors commonly include basic features such as cropping, resizing, rotating, applying filters, adjusting colors, and adding text.
Suitable for Beginners
Many tools have straightforward interfaces that make simple edits easy to complete without learning complicated editing techniques.
However, some services require an account, restrict certain features, or process images on remote servers. Before uploading sensitive files, review the service’s terms and privacy policy.
Step 1: Choose an Online Image Editor
Start by selecting an image editor that offers the features you need. Here are four popular options to explore:
- Photopea: https://www.photopea.com/ — useful for layer-based editing and more advanced image adjustments.
- Canva: https://www.canva.com/ — helpful for creating social media graphics, banners, and designs using templates.
- Pixlr: https://pixlr.com/ — offers browser-based photo editing and creative tools.
- Adobe Express: https://www.adobe.com/express/ — useful for promotional graphics, visual content, and basic image editing.
Before uploading your image, check the editor’s available features, supported file formats, account requirements, and export options.
Step 2: Upload Your Image
Open your chosen editor and look for an option such as Upload, Open, or Import. Select an image from your device. Depending on the editor, you may also be able to drag and drop the file into the workspace.
Check the image’s dimensions and file size before uploading. Some tools impose upload limits or restrict certain file types.
Step 3: Crop Unwanted Areas
Cropping lets you remove distracting objects, excess empty space, or unwanted edges from an image.
For example, if you’re preparing a featured image for a blog post, you can crop the photo to keep the focus on its main subject.
Choose an aspect ratio that suits the intended use. A square crop may work well for some social media posts, while a wide landscape crop may be better for a website banner.
Step 4: Resize the Image
Resizing changes an image’s pixel dimensions. It is especially useful when preparing pictures for websites, blogs, email newsletters, and social media platforms.
Choose dimensions that fit the space where the image will appear. There is usually no need to upload an oversized image if a smaller version will still look clear at its intended display size.
Keep the aspect ratio locked when resizing unless you intentionally want to change the image’s proportions. This helps prevent subjects from looking stretched or distorted.
Step 5: Adjust Brightness, Contrast, and Color
A few careful adjustments can improve the appearance of a photograph. Many online editors provide controls for common image adjustments.
- Brightness: Makes an image lighter or darker.
- Contrast: Changes the difference between light and dark areas.
- Saturation: Adjusts the intensity of colors.
- Sharpness: Can emphasize details when used sparingly.
- White balance or temperature: Helps correct unwanted color casts in editors that offer these controls.
Make small changes and preview the results as you work. Excessive adjustments can make a photograph look unnatural or introduce unwanted visual artifacts.
Step 6: Add Text or Design Elements
Some online editors let you add text, shapes, stickers, icons, and other graphic elements to your images.
These features are useful for creating blog thumbnails, advertisements, posters, banners, and social media graphics.
For better results, choose fonts that are easy to read, maintain sufficient contrast between text and background, and leave enough space around important elements. If your image contains text, check spelling and alignment carefully before exporting.
Step 7: Download the Edited Image
Once you’re satisfied with the result, select the Export or Download option. Choose a file format that suits the image and its intended use.
- JPG or JPEG: Works well for many photographs and complex images.
- PNG: A good choice for graphics that need transparency or lossless image data.
- WebP: A modern format suitable for many website images, including photographs and transparent graphics.
The right format depends on your image, quality requirements, and compatibility needs. After downloading the file, check that it looks correct and has the dimensions you expected.
Step 8: Optimize the Image for Your Website
If you’re publishing the edited image online, consider compressing it before uploading it to your website.
Image compression reduces the amount of data visitors need to download. For photographs, carefully selected lossy compression can often balance visual quality and file size.
Resize images to appropriate dimensions and consider using an efficient format such as WebP when suitable. Avoid compressing images so aggressively that they become blurry or pixelated.
For more information about reducing image file sizes, visit us.compressimagefree.store/ for image compression and optimization resources.
Tips for Better Online Image Editing
Follow these practical tips to get better results when editing images in your browser:
- Keep a copy of the original image before making changes.
- Start with a high-quality source image whenever possible.
- Avoid enlarging small images too much.
- Choose dimensions that suit the image’s intended display size.
- Preview the finished image on desktop and mobile screens.
- Check whether the editor uploads files to an external server.
- Avoid uploading confidential images to services you do not trust.
- Choose a suitable file format and check the exported image quality.
Frequently Asked Questions
Can I edit images online for free?
Yes. Several browser-based editors offer free features for cropping, resizing, adjusting colors, and making other basic edits. Advanced tools, premium templates, and some export options may require payment.
Do I need an account to edit images online?
Not always. Some editors let you make basic changes without an account, while others require registration to access certain features or save projects. Check the requirements of your chosen editor before getting started.
Can I edit images on my phone?
Many online image editors work in mobile browsers. However, their features and ease of use can vary depending on the website, browser, screen size, and device capabilities.
Will editing an image reduce its quality?
Some editing operations, particularly resizing to smaller dimensions and applying lossy compression, can affect image quality. Keep the original file and review the exported image before publishing it.
Conclusion
Editing images online is an easy way to improve photographs and create digital graphics without installing traditional software. With a suitable browser-based editor, you can crop and resize images, adjust colors, add text, and download the finished version in just a few steps.
Choose an editor you trust, make adjustments carefully, and optimize the final image for its intended use. Keeping a copy of the original will also help you preserve quality and make future changes when needed.
Visit us.compressimagefree.store/ for more practical tips on image editing, compression, and website image optimization.